

DIY Reversible Valentine’s Decor
This tutorial will focus on Valentine’s Day, just make sure to check in next month for the St. Patrick’s Day side.
Disclosure: This post contains affiliate links. If you click and make a purchase, I may earn a small commission at no extra cost to you. Thanks for your support!
Skill Level: Novice
Estimated Time: 2 hours
Materials Needed:
3 unfinished wood blocks, all the same size (about 3” x 3”)
Paint (white, red, pink)
Black paint pen or fine paintbrush (these paint pens are life-changing)
Paintbrushes
Sandpaper
Red wired ribbon
Sandpaper
Chopsaw
Steps for Valentine’s Blocks:
Prep wood blocks - Unless you already have blocks, cut the wood to size using a chopsaw. Lightly sand all sides of the wooden blocks to smooth rough edges and corners.
Paint blocks - ONLY PAINT HALF OF THE WOOD BLOCKS. Lightly sketch a line in the middle and do not paint past the line. Each block should be a different color. Paint half of one block white, half of the second block red, and half of the third block pink. Paint a second coat if needed and let each coat dry completely.
Add Valentine Designs
White block: lightly sketch a heart with a pencil and then paint it red. Once it’s dry, use the paint pen to add a light outline to the heart and optionally add some stitch marks.
Red block: lightly sketch out the text “be mine” and paint using the black paint pen.
Pink block: lightly sketch out the text “kiss” and paint using the black paint pen.
Distress corners - Optional: Very lightly sand the corners to expose the bare wood for a more rustic, farmhouse look.
Assemble and add ribbon - Cut your red ribbon long enough to go around the three blocks and tie it together. Make it loose enough to be easy to remove, and do not glue anything.
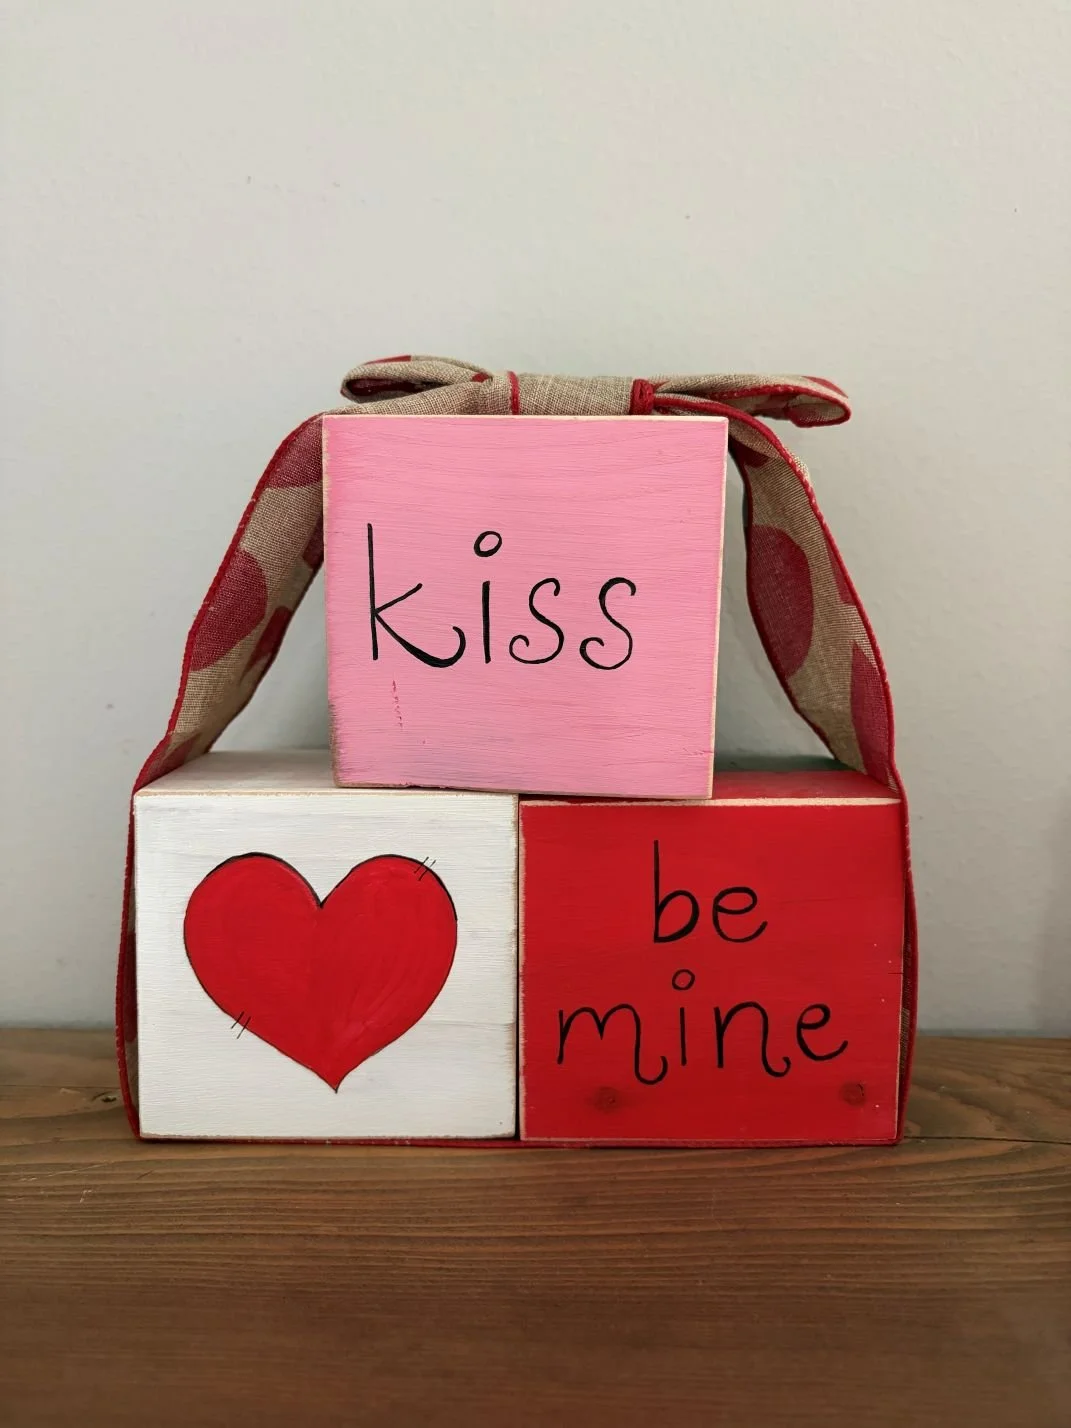
Valentine’s Day DIY Decor
And that’s it until St. Patrick’s Day!
Have a custom request? Contact us!